
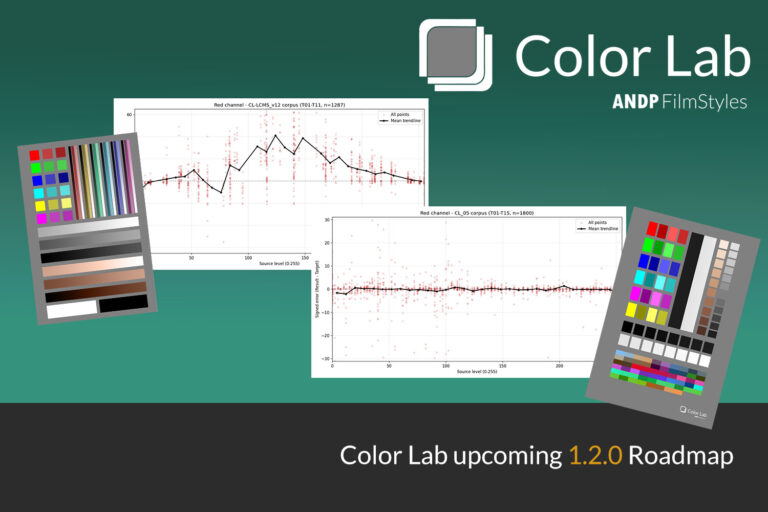
Full engine re-calibration log for Color Lab and what is coming for 1.2.0
It has been almost 10 days since Color Lab released and the experience has been a truly amazing one. First,…
Using Our ICC Profiles on RAW Files in Capture One — What to Expect and What to Do
If you’ve applied our .icc profiles in Capture One and the image came out very dark, here’s why — and how to fix it.
RAW and TIFF files behave differently in Capture One.
A TIFF is a finished image. The colour has already been processed and the profile is baked in. Our profiles were built to be applied at this stage, on already-processed image data.
A RAW file is different. It’s raw sensor data — not yet a finished image. Capture One processes it on the fly. When you apply our profiles to a RAW file on a linear curve, the profile meets the image at the wrong stage of that process, and the image goes dark.
This isn’t a flaw in the profiles. It’s a mismatch between where we calibrated them and where they’re being applied.
You have three options.
Option 1 — Switch the curve to Auto (fastest)
In Base Characteristics, change the curve from Linear to Auto. Capture One will handle the RAW processing first, then our profile applies on top. It’s a fast, clean result and requires no extra steps. This is the recommended path if you want to stay in a single-file workflow.
Option 2 — RAW to TIFF, then apply (most accurate)
This is the workflow our profiles were originally built for. Export your RAW file as a TIFF first, using your camera’s standard colour profile — this handles the development step and removes any log or flat profile. Then open the TIFF in Capture One and apply our .icc film simulation. You’re now working exactly as we intended. It’s one extra step, but it’s the most controlled result.
Option 3 — Manually adjust exposure on the RAW (not recommended)
You can push the exposure up on the RAW file to compensate for the darkening. This technically works, but we’d steer you away from it. Pushing exposure after the fact can introduce noise, especially in the shadows, and you’d be working against the file rather than with it. Options 1 and 2 are cleaner in every way.
To summarise:
For fast results with no extra steps — switch to Auto. For the most accurate result — export to TIFF first, then apply. Both will give you a good result. The two-pass route is just the more precise one.
It has been almost 10 days since Color Lab released and the experience has been a truly amazing one. First,…
If you’ve ever asked me for “the recipe,” you’re not alone — it’s probably the most common question I get.…
